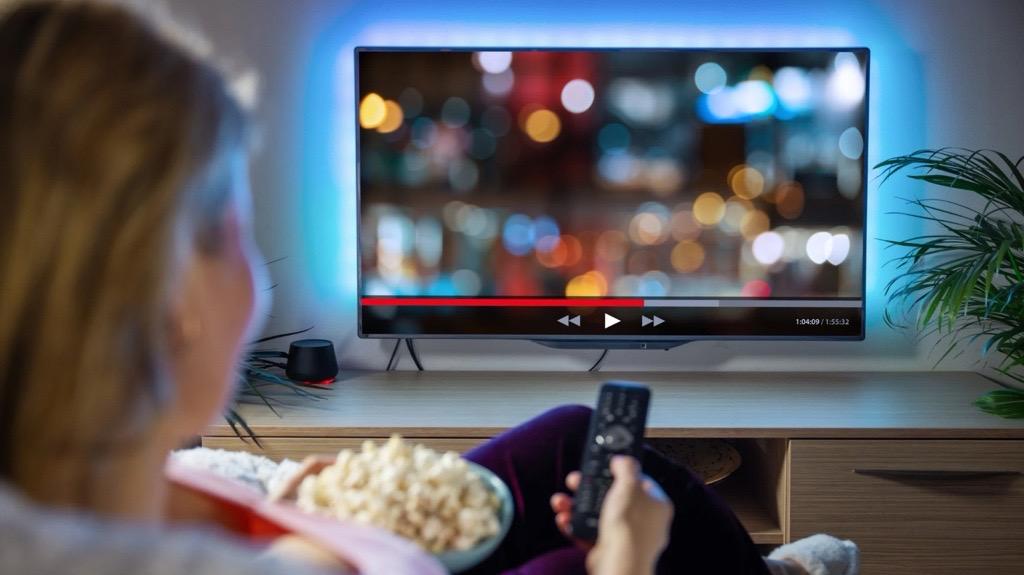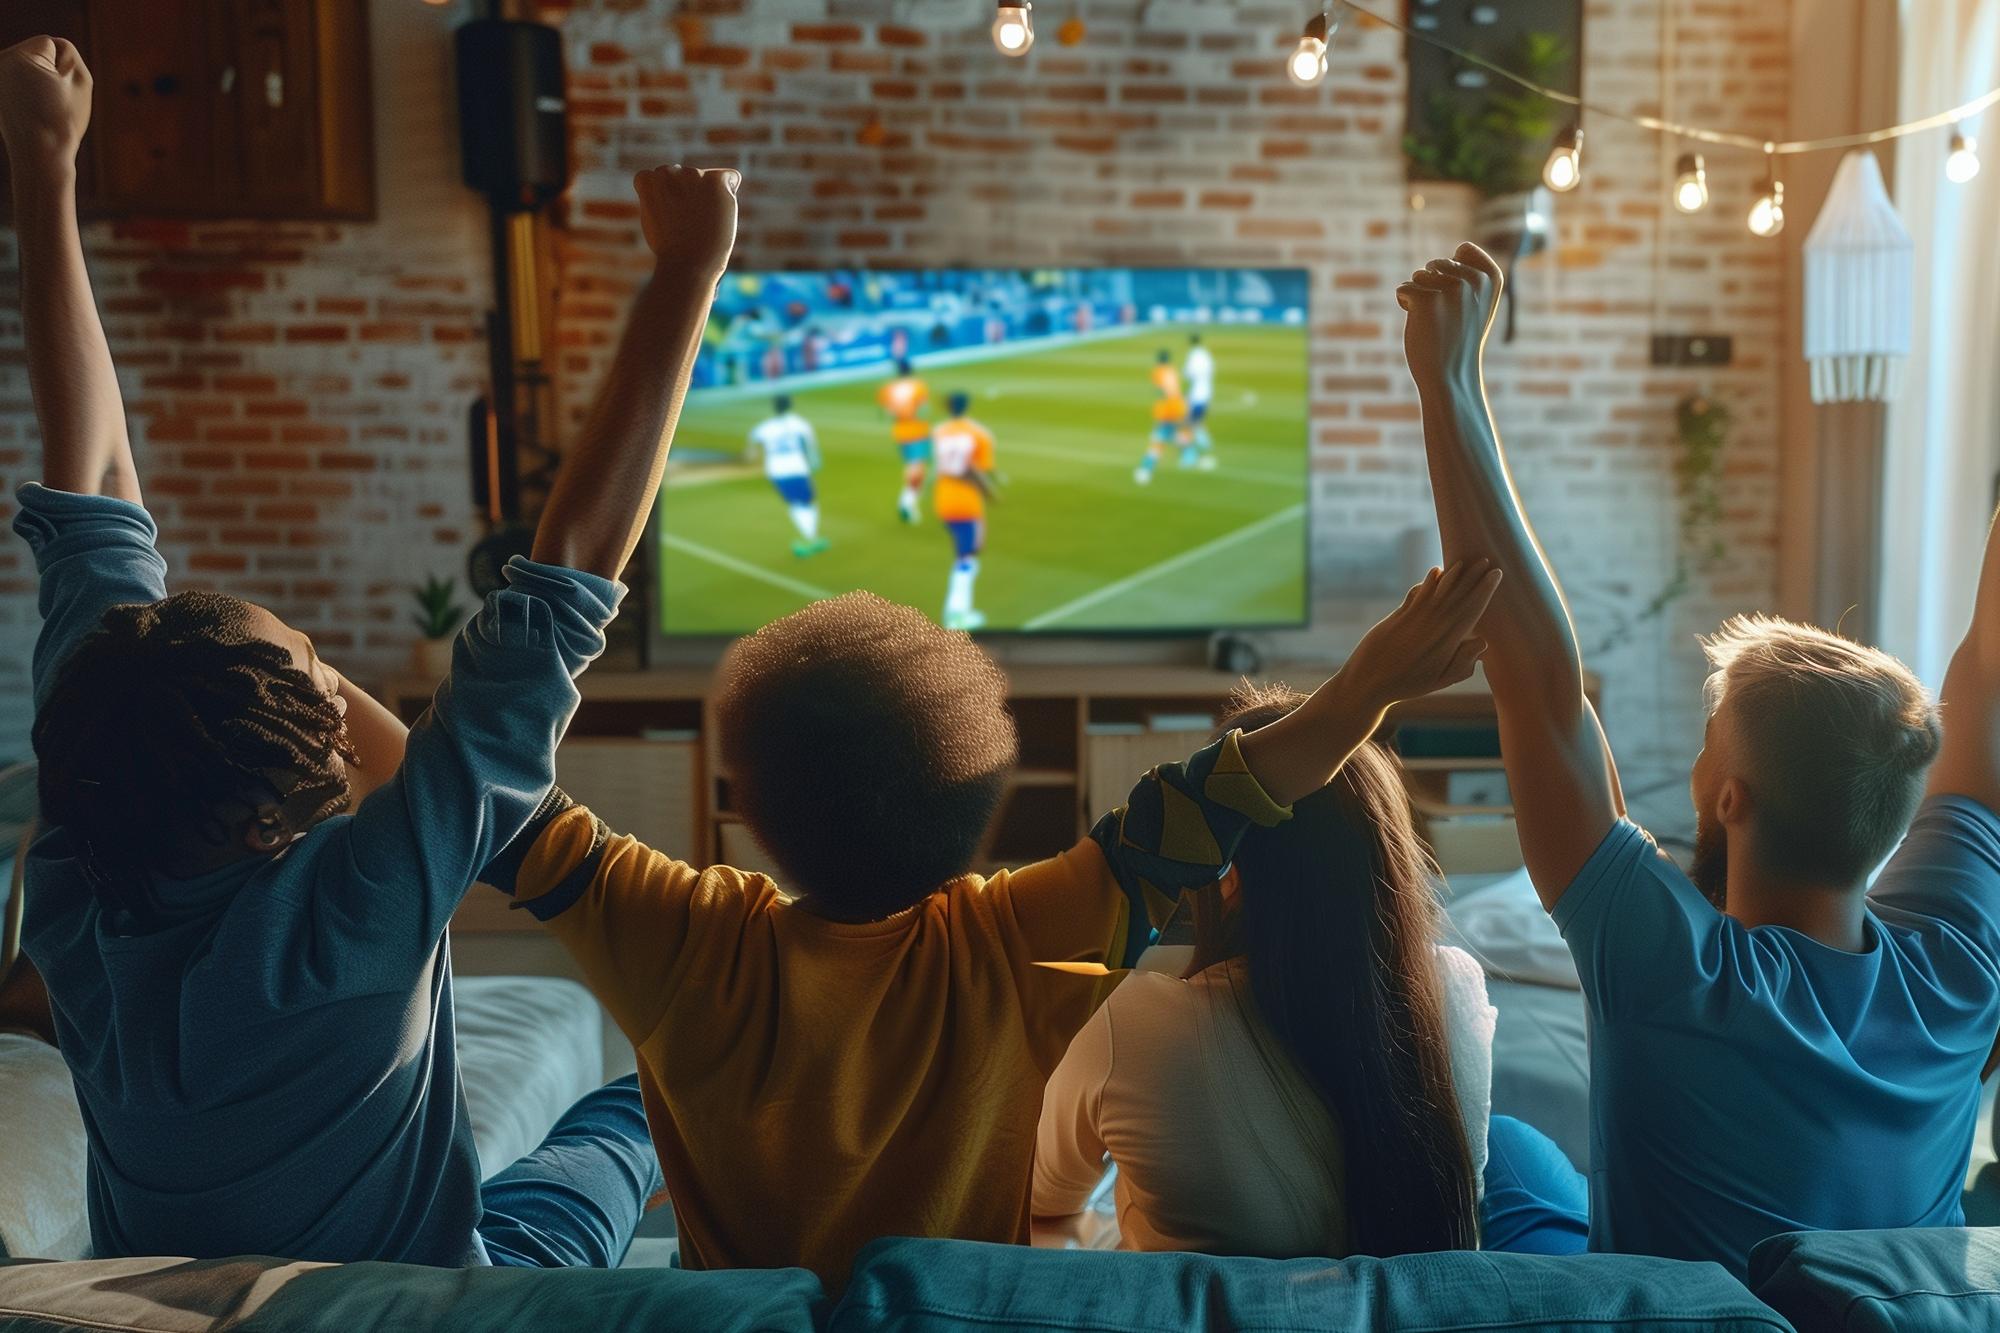
If you’re getting ready for all the football that’ll be on the TV this summer, nailing the best TV settings for football will make all the difference between ‘what a goal!’ and ‘wait… what just happened?’. Whether you’re cheering on the underdog or backing a sure thing, a few simple tweaks will have matchdays looking brighter, sharper and smoother. So, here are the best TV settings for sports to get you ready for kick off.
1. Avoid Dynamic or Cinema mode
First up is the picture mode. Don’t try to get fancy by putting on dynamic or cinema mode. Dynamic mode looks impressive in the shop – it makes everything super bright and eye-catching – but at home, it just makes the colour pop to the point of looking unnatural, especially a bright green football pitch. Cinema mode, while great for watching the latest films, makes everything too warm and soft-looking, which is not ideal for fast-moving sport.
Instead, we’d suggest switching to Standard or Normal mode. They’ll give you the most balanced picture for everyday watching as well as the big match. Now you’re covered for drama on and off the pitch!
How to change picture mode:
On most TVs, press ‘Settings’ on your remote > choose ‘Picture’ > select ‘Picture mode’ > then tap through the options until you land on Standard/Normal.
2. Adjust your contrast ratio
The contrast ratio is about how bright the brightest parts of the screen are compared to the darkest. Get it right, and you’ll see crisp white lines on the pitch and more detailed shadows under the players’ boots.
Here’s a quick guide:
High contrast (80-100%) – Punchy and vibrant but can make the pitch look shiny or washed out.
Mid-level contrast (40-70%) – Usually the sweet spot for watching football.
Low contrast (0-30%) – This is going to be far too flat, and you’ll start to notice the detail disappearing. Which player is that?!
How to adjust your TV contrast:
Turn the contrast right up until the pitch starts to blur and lose detail. Then bring it down slowly until the grass texture and line markings look clear again.
3. Choose the correct brightness
Brightness sets how visible the darker parts of the picture are, which is important to get right if the football is played on a cloudy day or at night.
Brightness levels work like this:
High brightness (70-100%) – Good for bright rooms (think tournaments in the summer), but can wash out the colours.
Mid-level (40-70%) – Best for most homes, as long as there isn’t a light or the sun beaming onto your screen.
Low (0-40%) – The picture starts to become too dim and murky, putting you at risk of missing that all-important deciding goal.
How to adjust your TV brightness:
Start by turning the brightness all the way down until the picture is too dark to see. Then bring it up slowly until you notice clear details in the shadows (like the folds in players’ shirts or dark areas of the pitch). Instead of turning it up to the max, this gives you a custom brightness for your room and the best picture for the day.
4. Make the right connection
Just like the team on the pitch, you need to make sure there’s a good connection between your telly and any other tech you’re using. In a nutshell, never underestimate the humble cable. Using the right cable can seriously bump up your picture quality.
Here’s what you’ll need:
Use an HDMI cable to connect your TV to your set-top box, game console or streaming gadget. It’s the only way to send HD or UHD content.
Avoid SCART – it’s old-school and can’t handle modern picture quality.
If you’ve got a smart TV or 4K UHD HDR TV, use an HDMI 2.0 cable or newer. These support Ultra HD Blu-ray and 4K streaming services.
If the match still looks a little blurry, check your processing rate (measured in Hz). A higher number means smoother motion, which is perfect for fast-flowing football.
5. Discover your TV’s motion interpolation
Motion interpolation adds extra ‘in-between’ frames to make movement look smoother. So, a pass across the pitch shouldn’t turn into a blurry mess.
How does it work? Your TV creates the picture like a flipbook, processing lots of still images which are shown really quickly. Motion interpolation then steps in to cleverly fill the gaps with artificial frames, making every moment appear nice and steady.
Different brands call it different things:
Sony – MotionFlow
Samsung – Auto Motion Plus
LG – TruMotion
If you can’t find it, you can switch it on in your TV’s Picture Settings menu. Just don’t forget to turn it off afterwards, as it’s brilliant for sport but makes films and shows look strange.
Get your TV setup match-ready
Now that you’ve mastered TV settings for sports, make sure you check out the ultimate armchair fan’s guide to watching football at home.